- Overview
- Day-by-day itinerary
- Photos
Why choose this route?
Move through the east, north and west coasts as separate stages, with a named food stop and pitch for each. Nine hire days include travel from Renfrew, so this still benefits from an extra night.
Speyside & Moray — good for: A trip with a clear food-and-drink identity, plus walks and coastal alternatives for non-whisky drinkers. The compromise: The driver cannot join a tasting and drive onward. Distillery geography and rural transport need planning before booking several visits.
Your route at a glance
Pink markers show the itinerary’s day areas. Tap a marker for its name, or open the stops in Google Maps. Ferry crossings and road journeys need separate checks for your travel dates.
- Renfrew — collection / return
- Day 1: Pitlochry
- Day 2: Inverness
- Day 3: Dornoch
- Day 4: Wick
- Day 5: Tongue
- Day 6: Durness
- Day 7: Ullapool
- Day 8: Lochcarron
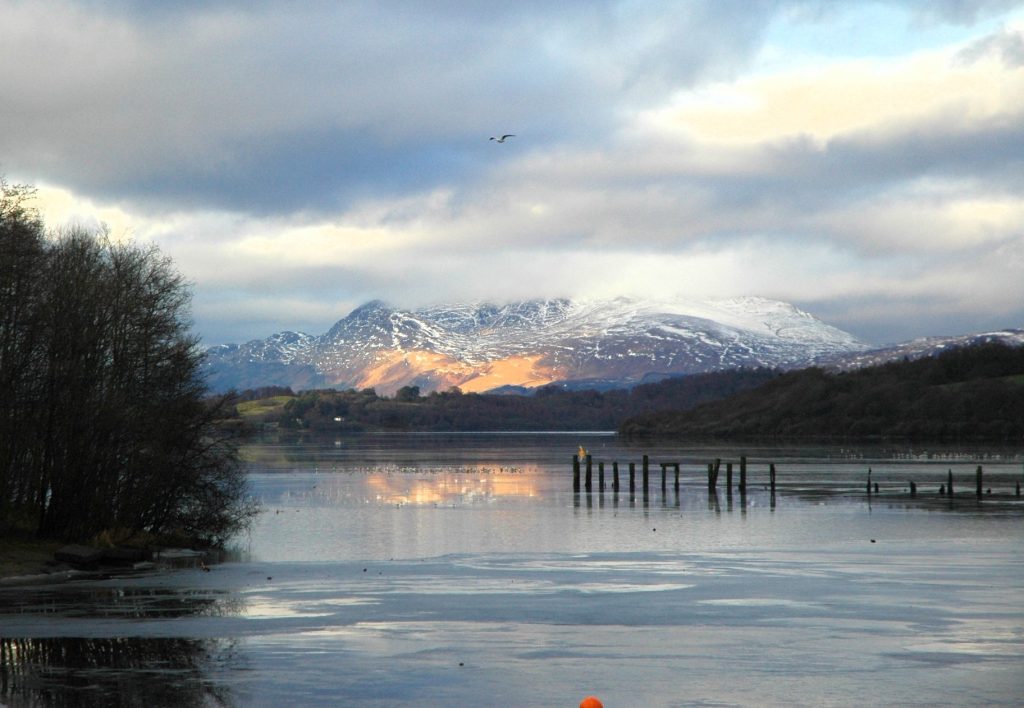
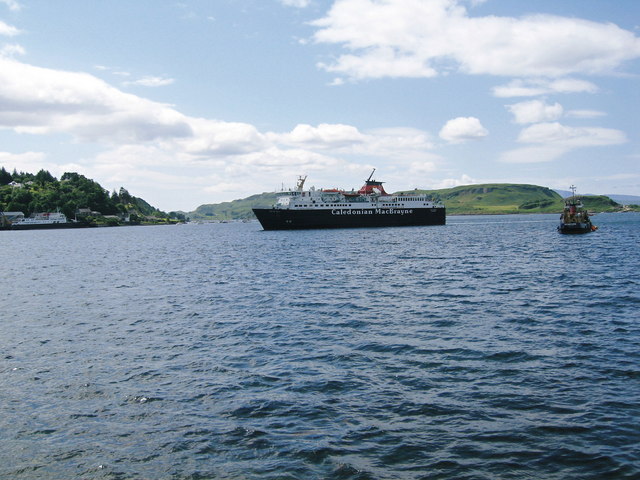
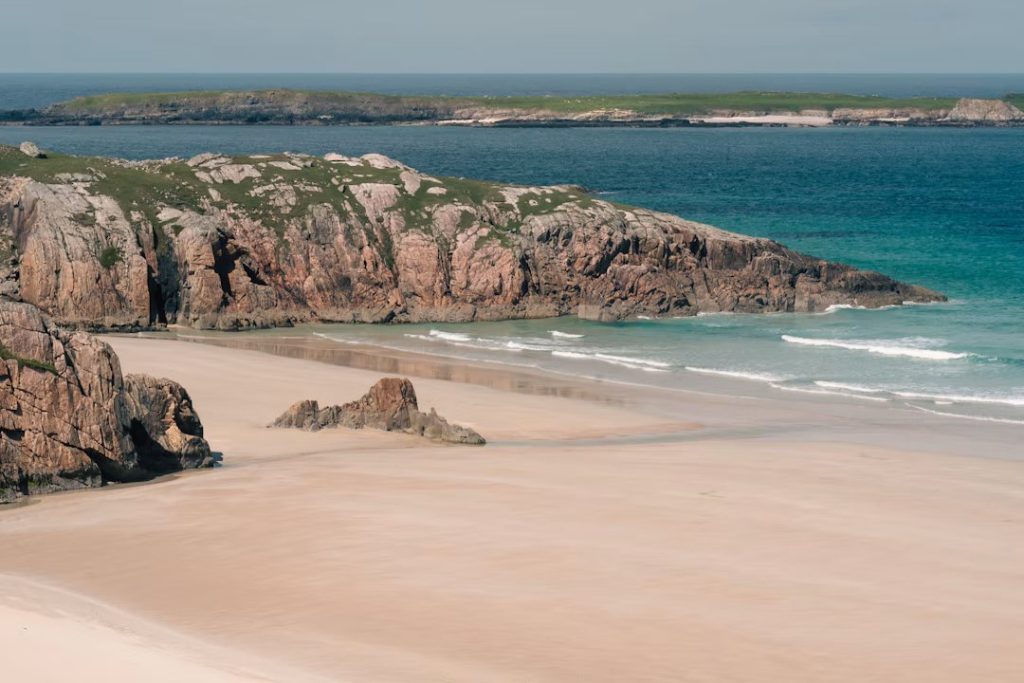
A glimpse of the places
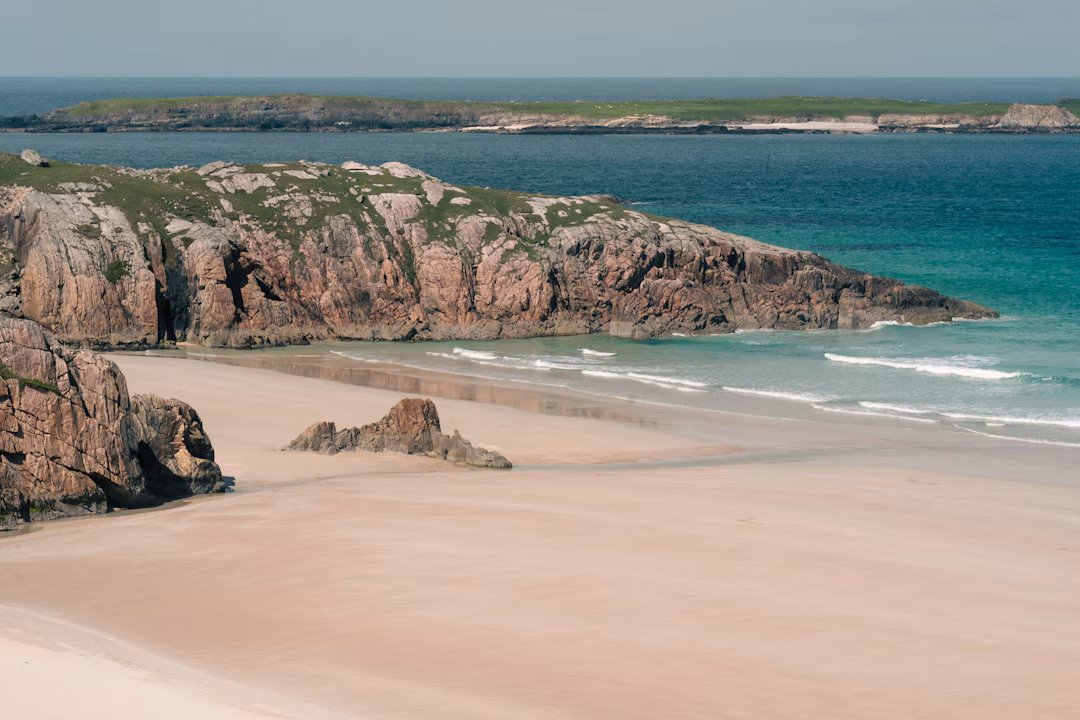
Photo: David Ford · Unsplash. Resized for display.
Your 9-day plan:
- Day 1: Pitlochry
- Day 2: Inverness
- Day 3: Dornoch
- Day 4: Wick
- Day 5: Tongue
- Day 6: Durness
- Day 7: Ullapool
- Day 8: Lochcarron
- Day 9: Return to Renfrew
8 nights away. Open the daily plan below for the food, activity and overnight choices.
Itineraries
Day 1
Pitlochry
Collection: Allow for the 14:00 handover in Renfrew before starting this day. Choose an evening stop that fits the campsite’s check-in time.
Explore the town and woodland, or make Blair Castle’s grounds your main stop. Blair Atholl is a practical base for the next A9 leg.
Make it work: A whisky tour is an optional booking; the driver must remain alcohol-free.
Day 2
Inverness
Stock up before the remote northern stages. If you choose Chanonry Point, allow time to park appropriately and walk from Rosemarkie or Fortrose rather than counting on space at the point.
Make it work: Dolphins are a possibility, not a guaranteed attraction at a fixed time.
Day 3
Dornoch
Pair Dornoch’s beach with the town. Choose Dunrobin as a separate admission if you want a castle stop on the northbound leg.
Make it work: Keep tomorrow’s far-north stops for their own day.
Day 4
Wick
Choose the coast around Castle Sinclair Girnigoe, then leave the John o’ Groats and north-coast leg for tomorrow. Keep back from exposed cliff edges.
Make it work: Finish the day near your pitch instead of adding another long northbound evening.
Day 5
Tongue
Travel the north coast with a beach stop that suits the weather, then make Tongue your base. Do not turn every viewpoint into a mandatory stop.
Make it work: Wind can change the feel of this coast dramatically; favour a sheltered outing when needed.
Day 6
Durness
Choose Smoo Cave’s accessible viewing area and Balnakeil Beach, leaving weather-dependent boat activity as a separate option.
Make it work: No promise of cave-boat operation: conditions and operator decisions govern access.
Day 7
Ullapool
Follow the west-coast road with one stop around Assynt, then make Ullapool’s harbour the evening focus. Resist combining several slow-road loops.
Make it work: Confirm seasonal service. Fill up and resupply before the next long transfer.
Day 8
Lochcarron
Use the mainland road option for this stage and consider Applecross only if the coastal detour suits conditions and your confidence. The mountain pass is not essential to enjoy the west coast.
Make it work: This is a long transfer day. If you want to stay in Applecross, extend the trip and book its pitch separately.
Final-night plan: Finish the outing early enough to move south. Use a booked Glencoe or Loch Lomond pitch. This transfer is part of today’s driving; extend the hire if you want to stay here tonight.
Day 9
Return to Renfrew
Today is the return journey, with standard handback by 12 noon. Check live traffic, allow time to refuel and arrive at the agreed return point. Optional sightseeing and cafés come after the return only, unless a later handback has been agreed.
Food: Breakfast in the van before leaving your final pitch keeps the morning flexible. Sleeping: No overnight pitch is included for this final hire day; book an additional night if extending.